
Thursday, June 30, 2011
Thursday, June 23, 2011
Shuffle for Ruffle

LOVE the ruffles and am now making some pants for my 5-yr old, Ava. Will post pics-hopefully soon.
Tuesday, June 14, 2011
Put a Label On It! (no fabric paper or Bubble Jet Set required)

UPDATE 4/5/12: Still looks good as new after many washes in cold water and bleach-free detergent!
I wanted to start putting size tags on the clothing I've been making for my friends' children. I found various websites that you can order from, but I didn't need that many and didn't want to spend too much money on the fabric paper. After some online research, I tried freezer paper technique and a solution of some household items.
You could also design a fun larger image and sew it to a T-shirt, tote or blanket, etc.
Want to try it? Here's what you need-
what you need:
ink fixative to pretreat fabric to prevent ink from washing out (or make your own-see below)
cake pan for soaking fabric
ink jet printer
freezer paper
fabric (100% cotton works best)
piece of regular copy paper- 8-1/2" x 11"
computer program to design- I just used Word so nothing too fancy is required
iron-cotton setting
glue stick
(1) Select your fabric. I found 100% cotton fabric works best. I used an old pillowcase. I'm going to try using some flour sack towels I found at the Dollar Tree. (UPDATE 4/5/12: flour sack towels worked great and were very affordable)
(2) Pretreat your fabric with an ink fixative to help prevent the ink from washing out. I made my own.
I found a site that said you could use a fabric softener solution here
I didn't have any liquid fabric softener, but I found a 'recipe' to make homemade fabric softener solution here
I just wanted to try it out, so I cut back the recipe to 1/4.
1/4 c baking soda
add 1-1/2 cup distilled white vinegar
4 c water
(3) Lay pieces of fabric (each approximately 8-1/2" x 11") and soak a few minutes, then allow to dry completely. (I put mine in the dryer for a bit too. Could also try a hairdryer.) You could also try putting the solution in a spray bottle. Spray onto the fabric and just make sure to spread the solution across the surface of the fabric.
(4) Gently iron dry fabric. (Make sure fabric is completely dry or you will get water spots...like I did the first time... :-(
(5) Right side of fabric down, iron freezer paper to adhere to fabric (smooth, shiny side down onto fabric). Allow to cool a few minutes.
(6) Use glue stick to apply freezer paper onto copy paper. Make sure to glue down the corners, so it doesn't get caught in the printer. No fabric or freezer paper should fall outside of the copy paper.
(7) Test your image. Print your image onto a regular piece of paper to make sure it's spaced right.
(8) If all looks good, run your fabric paper through. Do not touch ink. Allow ink to dry for 10 minutes.
(9) Peel off freezer paper. Place a cheese cloth/ dishtowel on top of fabric, and set ink with iron. Iron over images about 20 seconds. Allow fabric to cool.
(10) Run fabric gently under cold tap water. Gently wipe with your fingers to make sure ink will not smear. Do not wring the fabric. Dry with paper towels. Use hairdryer to speed up drying time.
(11) Cut your images out and sew to your creations for a professional, unique touch. Wash garment on cold, gentle cycle. The subtle vinegar smell will go away after first wash.
Would love to see your labels (which will be much more creative than mine). Please share pics!
Click here for a great tutorial using purchased fabric paper. I incorporated some of these steps in my version.
Monday, June 6, 2011
Something Blue
I wish I had the 'before' pic, but I don't. I'll have to just describe it-the top and base were painted dark green and the rest of it was an antique white. Paintings of flowers covered the drawers. It wasn't bad, but it just wasn't my style.
So, with a fresh coat of leftover wall paint, acrylic paint and fabric for the knobs (applied using good ol' Mod Podge), I brightened it up! I just love these colors together! Something blue accented with a touch of red!

So, with a fresh coat of leftover wall paint, acrylic paint and fabric for the knobs (applied using good ol' Mod Podge), I brightened it up! I just love these colors together! Something blue accented with a touch of red!

Monday, May 2, 2011
Sew far, pretty good
This week I've been obsessed with teaching myself to sew. I accomplished several projects, getting my inspiration from many creative, experienced and talented bloggers.
(1) First project: Update plain white T by adding ruffles
kind of liked this shirt, but too much ruffle for me

so here's how my ruffled t-shirt turned out (cut up one of the hub's old torn t-shirts for the ruffles...thanks hon...)
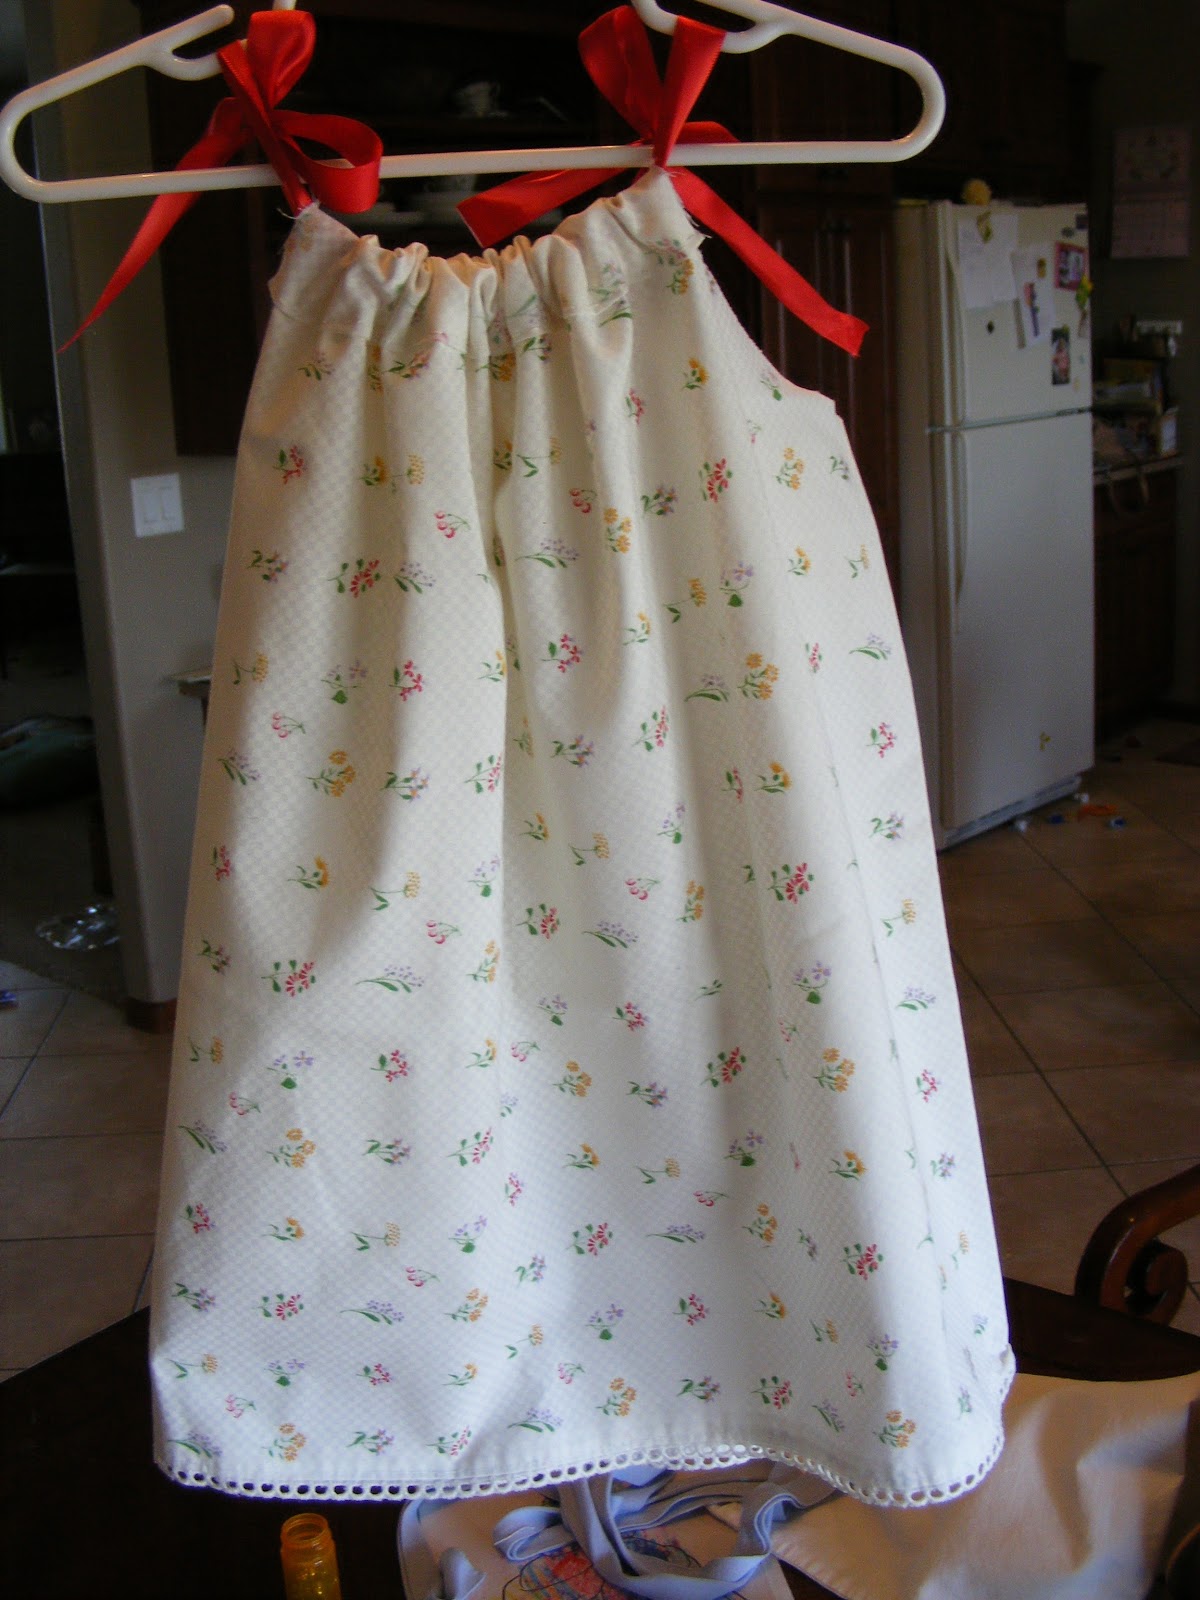
(2) Next project: pillowcase dress
I ran across many tutorials but they were a bit overwhelming and time consuming for the beginning sewer. This video inspired me to give it a shot. I was fortunate to have some beautiful embroidered pillowcases that were handed down to us.


(1) First project: Update plain white T by adding ruffles
kind of liked this shirt, but too much ruffle for me
so here's how my ruffled t-shirt turned out (cut up one of the hub's old torn t-shirts for the ruffles...thanks hon...)
 |
| used basting stitch to ruffle, then a backstitch to secure the ruffles to the shirt I found a great tutorial here. |
(2) Next project: pillowcase dress
I ran across many tutorials but they were a bit overwhelming and time consuming for the beginning sewer. This video inspired me to give it a shot. I was fortunate to have some beautiful embroidered pillowcases that were handed down to us.

 |
| my VERY first pillowcase dress-used an old hospital pillowcase |

the review: Such fun projects. One needs to be patient if hand-sewing (like me)....but I felt like I had accomplished something as a newbie sewer! Yay me! ;)
and project coming up.....
another ruffle T-shirt using flour sack towels from Dollar Tree.... Not sure when I'll have the time. But we shall see how that one turns out.... ;)
and project coming up.....
another ruffle T-shirt using flour sack towels from Dollar Tree.... Not sure when I'll have the time. But we shall see how that one turns out.... ;)
Subscribe to:
Posts (Atom)

